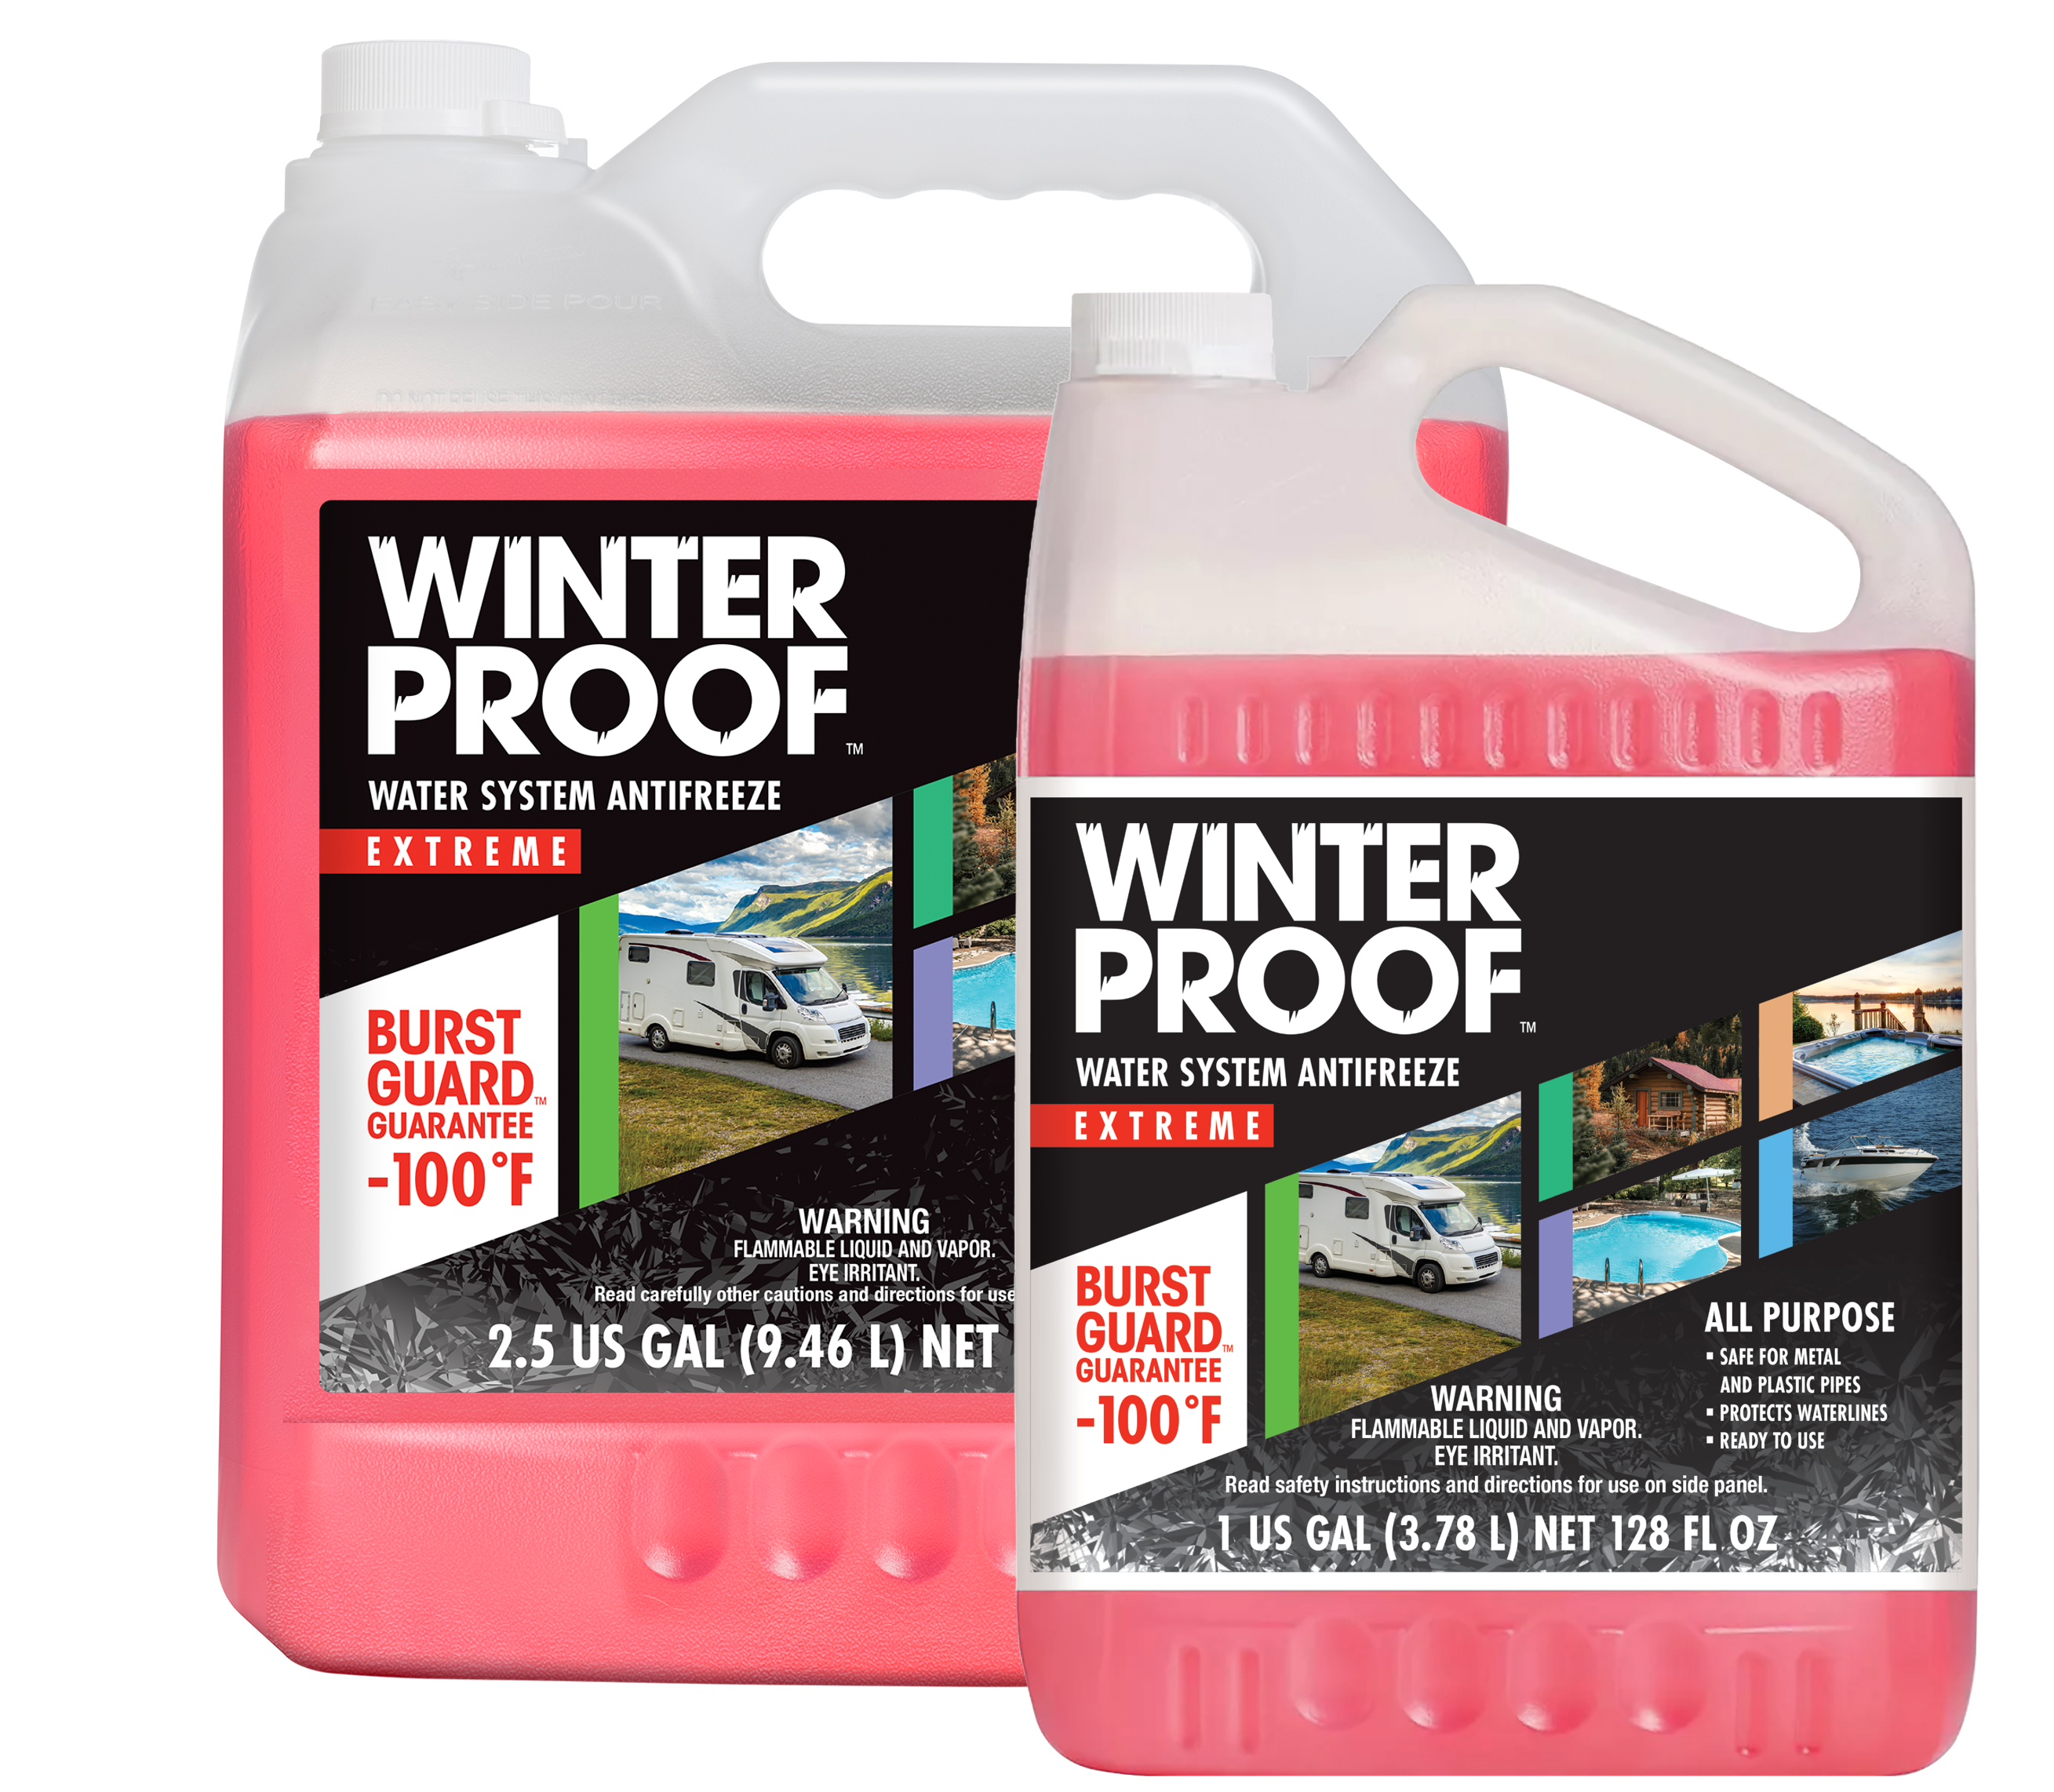
All Purpose

BURST GUARD™ Guarantee -100˚F

The ultimate protection for your property against burst pipes and waterlines with WINTERPROOF™ Water System Antifreeze.

WINTERPROOF™ Water System Antifreeze provides you with peace of mind:

  1. Formulated for various applications.
  2. Total water system protection
  3. Prevents waterline bursts
  4. Safe for plastic and metal pipes
  5. Lubricates waterlines, pipes, and seals
  6. Ready to use formula.

How To Winterize Your Property

Keep your cottage plumbing system safe through winters with WINTERPROOF™ All Purpose Water System Antifreeze and our BURST GUARD™ Guarantee -100˚F. Follow these simple steps to avoid complications and costly repairs:

1Turn off power to the water pump and hot water tank.

Turn off the power in the hot water tank to protect the heating elements from trying to warm water that is no longer there.

2Work on interior plumbing first.

Ideally, all the supply pipes will drain to one point, and the water supply lines will gradually slope down to a single set of drain valves. If your cottage is set up differently, you may have to crawl under the cottage to find out where all the pipes go and where the valves are located.

3Open drain valves and make sure all taps (inside & outside) are open.

Leave all valves and the taps open over the winter so that any remaining water can drain out.

4Attach an air compressor to the drain valve.

If you think there may still be water in the line from improper drainage or sagging pipes, blow any excess water back through the open taps.

5Drain the pressure/gravity tank and hot water tank.

If the pressure tank is located somewhere other than below your cottage, make sure the line to the cottage is also drained. The pressure tank relies on a rubber diaphragm to create and hold the pressure to push water through the plumbing lines. If water is left inside the holding tank, it will freeze and possibly destroy this rubber diaphragm, making the tank useless.

6If you have a jet pump, remove the drain plug.

Drain the water between the pump and the pressure or gravity tank. The priming plug should also be removed and stored in a safe place. Add 500 mL (2 cups) of WINTERPROOF™ Water System Antifreeze to the jet-pump case to protect the casing and impeller inside it from freezing. Disconnect the waterline to the pump and pull it onto the shore. Disconnect the foot valve and store it in a secure place to prevent any damage.

7If you have a submersible pump, leave it in the water during the winter.

A drain valve installed on the waterline just above the lake’s high-water level will let you drain the line from the cottage to where the pipe enters the water, decreasing the chances of freezing and cracking over the winter.

8Winterize the toilet.

Flush the toilet to get as much of the water out of the tank and bowl as possible. Some water will be left at the bottom that should be removed with a small cup or a sponge. Add 1 to 2 litres (4 to 8 cups) of WINTERPROOF™ Water System Antifreeze to the bowl to prevent any remaining water from freezing and cracking the toilet, and to stop sewer gas from venting back through the toilet trap. Add another litre (4 cups) of WINTERPROOF™ Water System Antifreeze to the tank and make sure the bottom rubber flapper in the tank is tied in the up position to prevent it from sitting in the plumbing antifreeze.

9Winterize the sink & tub.

Pour 500 mL (2 cups) of WINTERPROOF™ Water System Antifreeze down every sink and tub drain. It is normal for the product to become ‘slushy’ and freeze in sub-zero temperatures, but it will not damage the system.

10Winterize the shower.

Pour 1 litre (4 cups) WINTERPROOF™ Water System Antifreeze down the shower-stall drains. The traps under the drains hold water that prevents sewer gas from coming up through the drains. If left unprotected, the pooled water in the traps may freeze and crack the traps.

Keep your RV piping and waterlines safe through winters with WINTERPROOF™ All Purpose Water System Antifreeze and our BURST GUARD™ Guarantee -100˚F. Follow these simple steps to avoid complications and costly repairs:

1Lower trailer to drain fresh water tank.

Lower the trailer slightly with the jack to allow better water flow out of the tank.

2Remove drain plug or tap to empty fresh water tank.

Remove the drain plug on the fresh water tank. This plug is fitted as original equipment. Your RV may already come with a drain valve or tap.

3Open taps to drain water… kitchen, bath sink, tub & toilet.

Open your kitchen sink taps, bathroom sink, and shower taps to empty all remaining water down the drain. Flush the toilet. If you have an outside shower, remember to drain that too.

4Ensure water heater is turned off.

Make sure your water heater is off. We don’t want to empty the water heater with the propane on and ignite it.

5Drain water heater. Release pressure & remove anode knob

Drain the water heater. Locate the water heater on the outside of your trailer and open the cover. Pull up the handle on the pressure relief valve to release any pressure.

6Apply Teflon tape to threads. Reinsert anode rod.

Re-insert the anode rod after the water heater is empty. It’s a good idea to apply Teflon tape or appropriate fitting compound to the fitting threads to avoid leakage. Re-insert the anode rod and tighten it.

7Connect sewer line. Drain black & grey water tanks.

Ensure that the black and grey water tanks are empty. Always empty the black water tank first then the grey water tank.

8Locate water heater & remove access panels.

You want to fill the water lines in the trailer with WINTERPROOF™ RV Water System Antifreeze. However, you do not want any antifreeze to enter the water heater.

9Close cold & hot water valves.

Close both the bottom and top valves to prevent WINTERPROOF™ RV Water System Antifreeze from entering the water heater.

10Locate fresh water tank & pump suction tube.

Locate the fresh water tank and tube that will allow the pump to suck up antifreeze to winterize the system. If you do not have a suction tube you can purchase a winterizing kit at an RV service center.

11Close valve from fresh water tank. Open pump suction line valve.

Close the valve from the fresh water tank so WINTERPROOF™ RV Water System Antifreeze does not enter and then open the valve to the suction tube.

12Turn on pump for 15 seconds.

Turn on your pump for fifteen seconds to let the pump run dry. Don’t overrun your pump when it’s empty.

13Turn off all taps in kitchen & bathroom.

Turn off all your taps prior to filling the lines with WINTERPROOF™ RV Water System Antifreeze.

14Place suction tube in antifreeze & turn on pump.

Place the suction tube into the jug of WINTERPROOF™ RV Water System Antifreeze and turn on the pump. Exchange antifreeze jugs as they become empty.

15Turn on taps until antifreeze appears.

Turn on both the cold and hot water taps throughout until green WINTERPROOF™ RV Water System Antifreeze appears. You’ll want about 250 mL (1 cup) of antifreeze to run into the toilet. Open the outside shower to fill this waterline with plumbing antifreeze.

16Pour antifreeze into kitchen & shower/bathtub drains.

Pour about 500 mL (2 cups) of WINTERPROOF™ RV Water System Antifreeze into the kitchen and bathroom sinks and the shower or tub drains. Clean up any spilled antifreeze. It is normal for the product to become ‘slushy’ and freeze in sub-zero temperatures, but it will not damage the system.

Keep your boat safe through the winter and ready to set sail in the spring with WINTERPROOF™ All Purpose Water System Antifreeze. Our BURST GUARD™ Guarantee -100˚F and following these steps will help you avoid complications and costly repairs:

1Clean your boat.

This is a great time to clean your boat and ensure that all of the dirt, fouling, and other grunge off. It’ll be easier to clean it off now, rather than in the spring after it’s had months to sit and solidify on your boat. Our advice? Work your way inside out. Start with the cabin, saloon, etc. and move to the deck, and finally to the hull.

You can also clean and protect any exposed teak and give the topsides and exposed fibreglass a wax to ensure it’s protected over the winter and ready for the open water in the spring!

2Drain and refresh the oil and oil filter.

First, you’ll want to drain the crankcase oil to remove any contaminants that can corrode and damage the engine parts during storage. Before beginning, attach a set of flushing muffs to a garden hose and position them on both sides of the water intake for your motor. Turn on the water source, start your motor and allow it to run for 5-10 minutes to allow the oil to warm up. Next, turn off the motor and remove the flushing muffs.

Follow the manufacturer’s instructions on how to properly drain the oil and change your oil filter. Once the oil has been drained, remove and change your oil filter and fill the crankcase with new oil.

3Refresh the lower unit gear oil.

Ensure you know the viscosity and quantity of gear oil that your outbound motor requires. If you don’t know check your owner’s manual.

Place a catch pan under the gear box to capture any oil that drips. Remove the bottom plug, being careful not to remove the gasket along with the plug. Once you see little bit of gear oil drip out, remove the top vent plug. This will allow the gear oil to drain freely out of the bottom hole. In good condition, gear oil should be translucent with a green tint. If water has seeped into the gear box, the oil will have a milky appearance. If you see the latter, contact a service professional for assistance.

To eliminate as much air in the gear box as possible, pump your new gear oil in upward, from the bottom hole until it overflows slightly through the top. For smaller outboard motors, you can press the nozzle of the tube of gear oil into the bottom hole and squeeze slowly into the casing until it overflows out the top. For larger outboard motors, you can follow this same process using a gear oil pump. With either type of motor, once oil overflows through the top vent hole, replace the top plug, remove the tube or pump nozzle and quickly replace the plug.

4Stabilize your fuel.

Add a fuel stabilizer and top up your fuel tank to avoid excess air in your tank. Because air holds moisture, when the temperature drops, the moisture will condense and will end up as water in the bottom of your fuel tank. This can fill your water separator and can cause problems when trying to start your boat in the spring. Follow the manufacturer’s instructions on the bottle of fuel stabilizer you purchase. To run the stabilized fuel through your fuel system, reattach your flushing muffs, turn on your water source, and restart the motor, allowing it to run again for 5 to 10 minutes, then shut it off.

This is also a great time to replace your fuel filter and water separator.

5Fog the cylinders and apply your WINTERPROOF™ Marine Water System Antifreeze.

Time to winterize your block with plumbing antifreeze.

After allowing the motor to run for 5 to 10 minutes, per the previous step’s instructions, shut it off and disconnect the garden hose. Hook up the flushing muffs to a winterizing kit and fill the kit with WINTERPROOF™ Marine Water System Antifreeze.

Remove the cowling to gain access to your boat’s air intakes located at the front of the engine. Open the valve to the winterizing kit and restart your motor and allow the antifreeze solution to drain into the tank. You’ll start to see the antifreeze discharging via the water that exits the motor.

While the engine is running. spray fogging oil into the carburetor(s). You may notice lower horsepower engines stall, and higher horsepower engines will cough and sputter – this is normal. Continue running the motor while spraying a decent amount of fogging oil through the intake. Discontinue the fuel line from the engine and continue to spray fogging oil into the engine until it dies. Doing this will prevent varnish deposits from building up while inactive during the winter.

If your boat has an Electronic Fuel Ignition (EFI), you need to follow a slightly different procedure for fogging. First, ensure that you’re using a fogging solution formulated for EFI motors.

Rather than fogging the cylinders, put a small amount of stabilized gasoline in a container and mix in a fogging oil formulated for EFI motors. Run a fuel line from the container to the motor and run the motor until you see white smoke exiting the exhaust. Before the winterizing kit runs dry, turn off the motor. Do not run the motor until it dies from lack of fuel as this can damage the fuel system.

6Don’t store on empty.

If your boat has an oil-injected two-stroke motor, fill the two-stroke oil tank to avoid water condensation build up while in storage.

Finally, squeeze some fresh grease into the pivot tube and tilt tube with a grease gun, and spray a corrosion inhibitor onto the power head and replace the cowl.

Lastly, remove your boat’s propeller and inspect it for damage. Ensure that the shaft is clean and clear of debris, lubricate it with grease, and reinstall the propeller. Store the engine in an upright position to allow any water to drain from it.

Use WINTERPROOF™ All Purpose Water System Antifreeze and follow these easy step-by-step instructions to protect your inground pool lines from cracks and bursts. With our BURST GUARD™ Guarantee -100˚F, you can avoid complications and costly repairs:

1Clean all the surfaces of the pool.

Begin by skimming the water with a pool skimmer to remove leaves and debris and brush the walls with a pool brush. Clean the skimmer baskets and vacuum all surfaces.

2Check and balance the water chemistry.

Run the filter system and shock the water a few days before closing. After shocking the pool, check the water balance a few days later. The pH levels should be between 7.2 and 7.6. Increase or decrease pH levels accordingly.

3Backwash the filter to clean the filter element.

If you have a heater, turn it off. Turn off the filter and set the multi-port valve to BACKWASH. Turn the filter on and let it run for 3-5 minutes, until the water in the site glass is clean. Shut off the system and turn the valve to RINSE. Run the system for 30 seconds and then turn it off. Open the pressure relief valve near the pressure gauge.

4Lower the water to prevent ice damage.

Lower the water a few inches below the skimmers or decorative tile. With the filter off, turn the valve to WASTE. Close the skimmer valves and keep the main drain open. Then turn on the filter system until the water reaches the proper level. Turn off the system.

5Prepare filter elements for storage.

Cartridge and Diatomaceous Earth (D.E.) filter systems can be disassembled for winter storage. Sand filters do not need to be taken apart unless you are changing the sand.

6Clear the plumbing lines.

Pool plumbing lines should be cleared because water left in the lines can freeze and expand causing the pipes to crack or burst. Connect an air compressor to the pool pump. Using low pressure, force out the water in the lines through the skimmer, main drain and return lines. Close-off the skimmer and returns with winterizing plugs.

7Add WINTERPROOF™ Pool Water System Antifreeze.

Repairs can be extra costly if pool waterlines or drainpipes freeze and burst. Pool antifreeze prevents any water that might be left in the lines from freezing and cracking the pipes. Remove the winterizing plugs in the skimmers and add about 2-3 litres per line of WINTERPROOF™ Pool Water System Antifreeze with the BURST GUARD™ Guarantee -100˚F.

It is normal for the product to become ‘slushy’ and freeze in sub-zero temperatures, but it will not damage the system.

8Close the filter system.

Remove the rest of the plugs on the filter system. Also remove the site glass and pressure gauge. Store them in the pump strainer basket inside the pump and cover the system.

9Drain pool heater.

If your pool has a heater, drain it completely before the first frost to prevent any damage from freezing water in the heater and piping.

10Cover the pool.

Check the cover to make sure it is in good condition. Clear out any pool accessories. Starting at one end of the pool, unfold the tarp and pull it over the pool without it falling in the water. During the off-season, remove any water, leaves and snow from the cover.

WINTERPROOF™ All Purpose Water System Antifreeze with BURST GUARD™ Guarantee -100˚F will help you avoid complications and costly repairs:

1Turn off your power, remove and clean the cover.

Be safe and remember to turn off your power to your hot tub.

Your spa cover needs cleaning too! This is a great time to clean your hot tub cover with a safe cleaner and water.

2Remove the filters.

If you’re going to clean and close your hot tub for the winter, you might as well do a thorough job of it and clear out your filters while you’re at it. Clean out your filter baskets with a safe cleaner and store them inside for the winter if you’re shutting down your hot tub for the season.

3Drain your spa.

Use either your exterior hot tub drain (usually found along the base of the hot tub) – or if your spa doesn’t have one, you can use a submersible pump – to drain the water. First, remove the drain cap and attach a hose or piping to direct water to an area of your property that will allow it to easily flow and disperse. Once the water inside the tub is drained, leave the drain spout open.

4Blow out the waterlines.

If your hot tub has valves on the top, unthread the valves and insert a shop vac to blow water out through the jets. Run the shopvac through each of the valves until you don’t see anymore water coming through the jets.

If your spa does not offer top valve access to the pipes, locate the pumps and loosen the unions, opening the plumbing pipes. Use a shopvac to blow water through the plumbing pipes and jets.

5Use a shopvac to suck water out of the jets, footwell, and seats.

Even small amounts of water left behind in your spa can cause cracks, so it’s important to try to get all of the water out of it. Use a shopvac or a sump pump to suck or pump the remaining water out of the footwell and seats, while using a shopvac to blow out the remaining water in the jets. Hold the shopvac over each jet for about 15-20 seconds.

6Add extra protection with WINTERPROOF™ Water System Antifreeze.

Use our All Purpose Water System Antifreeze, as directed on the product label.

7Cover your spa.

Once you’re done, remember to place the cover back onto your spa for the season.

Product Specifications

Item # Unit/Case Pack UPC SCC14
35-364WPUS/13147 4 x 1 USG 056438909545 40056438909543
35-365WPUS/13148 2 x 2.5 USG 056438909552 40056438909552
35-369WPUS/13149 4 x 55 USG - -
35-369WPUS-275/13150 1 x 275 USG - -

Tips for Finding MSDS

  1. Have the item # handy before starting the MSDS search
  2. Use the link below to access our MSDS database portal
  3. Select the red SEARCH button on the left-hand side of page
  4. Type item # in the Product Code box and press search (XX-XXXX)
  5. Hover over the yellow MSDS button and select either English or French
Find MSDS